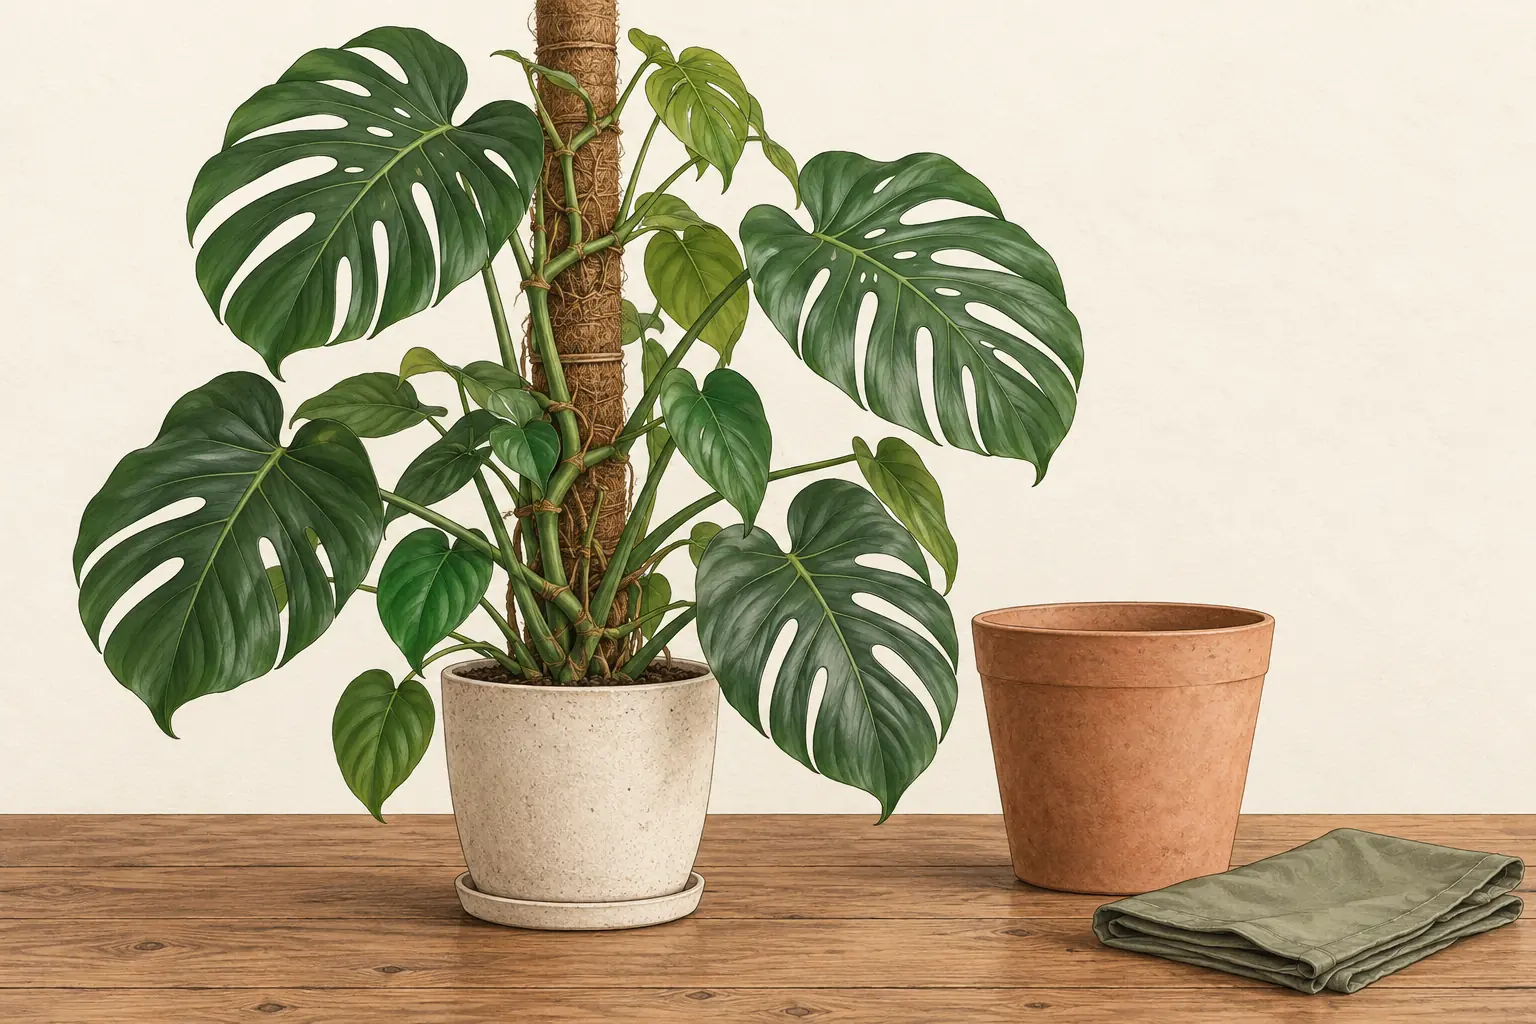
Repotting Monstera starts with checking the root ball, not choosing a bigger pot. For an established Monstera deliciosa, densely circling roots can justify a modest size increase; failing drainage may call for a medium correction instead. During a healthy transfer, support the roots and any attached pole, keep the original planting depth, then water and drain thoroughly.
This guide covers moving an established plant. For a newly rooted cutting, use the separate Monstera propagation guide. The routine below follows Penn State Extension’s repotting guidance and Ask Extension’s Monstera transfer instructions; it is not a root-disease treatment protocol.
Does your Monstera need a bigger pot?
Inspect before deciding. Roots at a drainage hole or a pot that dries unusually quickly are reasons to examine the root ball. A dense mat circling the sides and bottom is stronger evidence of crowding. Aerial roots, yellow leaves, or an unstable top alone do not establish that the plant needs more soil volume.
Penn State recommends checking the roots when drying or growth changes suggest crowding. UConn’s Monstera guidance favors incremental pot increases and warns that this plant tolerates being pot-bound better than being over-potted.
| What you find | What to do next |
|---|---|
| Roots densely circle the sides and bottom; little mix remains visible | If you want the plant to grow larger, choose a modestly larger draining pot and use the healthy-transfer steps below. |
| Roots have room, the mix drains, and the plant is stable | Keep the current pot. Another year on the calendar does not by itself require a move. |
| Roots are not crowded, but the mix is compacted or the pot cannot drain | Correct the medium or container drainage. Choose a container that fits the existing root ball rather than automatically sizing up. |
| The plant leans or tips, but the roots are not crowded | Check the support and container stability separately. Adding a large volume of damp mix is not a substitute for supporting the vine. |
| Roots are soft and mushy, or the stem has soft, deteriorating tissue | Stop the routine transfer. Investigate possible root or stem disease before deciding what living roots need a container. |
These branches combine the root checks above with Iowa State’s guidance on compacted media and stable containers. They are a decision aid, not a diagnosis from a single symptom. UConn describes root rot using both discoloration and soft, mushy texture; brown color alone is not enough to decide which roots to remove. If the tissue condition is unclear, ask your local Extension office for help before cutting.
What about roots growing above the soil?
Aerial roots emerge from the vine and help Monstera climb. They are different from the roots filling the container. Penn State describes their attachment role. Leave an established attachment intact while moving the plant; a long aerial root is not a pot-size measurement.
When should you do the move?
For a healthy plant that can wait, plan around renewed growth, often in spring in a US home. Iowa State allows repotting throughout the year but favors late winter or early spring. A blocked drain or deteriorating root system needs attention when discovered; waiting for a particular month does not resolve it.
Choosing a pot for repotting Monstera
Start with pots you already own. A clean container with open drainage may do the job if its actual dimensions fit the root ball. Compare the growing pots themselves, not just a decorative outer cover. If you only need fresh medium and the roots still fit comfortably, a larger pot may be unnecessary.

There is no single size increment shared by the consulted sources. A general Ask Extension answer suggests moving up 1–2 inches, while the National Garden Bureau’s Monstera fact sheet suggests 2–4 inches in diameter. Penn State says slightly larger, and UConn says to increase incrementally.
A conservative starting point: for a crowded, otherwise healthy plant, compare pots about 1–2 inches wider in diameter than its current growing pot, then check the root ball’s fit. This is our cautious application of general Extension advice, not a tested Monstera formula. Do not jump to a much larger container simply because the leaves are large.
- Check width: measure across each growing pot at a comparable height. A diameter increase is the total added width, not extra space on every side.
- Check depth: the roots must fit while the plant stays at its existing planting depth. Avoid choosing a tall container merely to bury the vine or conceal an unstable support.
- Check drainage: the growing pot needs an open outlet. A cachepot is an outer decorative cover; empty collected water after watering.
- Check stability: the pot and support must hold the plant upright. If a large plant cannot be handled securely, get help before removing it.
For example, an 8-inch growing pot gives you 9- and 10-inch candidates to compare; it does not prove either is the right fit. Pot shape, root-ball depth, and the amount of new mix still matter. This example explains the diameter measurement rather than promising a particular result.
Penn State explains container drainage and material differences: porous unglazed clay loses moisture differently from plastic, while heavy containers can improve stability. Preserve the freedom to choose a suitable pot you own. No gravel layer is needed; Iowa State warns that it creates a wetter zone nearer roots.
Prepare the mix and the supported plant
Set out the chosen pot, suitable container mix, a surface to catch spills, and any help needed to handle the plant. Clean a previously used container before reuse. Lightly pre-moisten dry fresh mix so it accepts water evenly, following Penn State’s preparation guidance.
Use the separate Monstera soil guide to choose the medium. The transfer needs a mix that holds some moisture while draining; it does not require buying a list of amendments or copying a fixed recipe.
If aerial roots are attached to a pole, plan to move the pole and plant together. Ask Extension specifically recommends supporting the moss pole to preserve those attachments. Have a helper steady the pole while you support the root ball. Stop if the assembly is too heavy or awkward to control.

Wear gloves when handling Monstera; Penn State recommends them because contact dermatitis is possible. This routine does not require pruning stems, dividing the plant, or cutting healthy aerial roots.
How to repot an established Monstera
Use this sequence for a plant with a sound root system. The goal is to move the supported root ball, make contact with fresh mix, and preserve the old planting level. Penn State’s general method and the Monstera-specific Ask Extension answer support the steps; suspected root disease needs a different assessment.
- Release the container, supporting the plant. Gently tip the pot and ease it away from the root ball. Support the root ball and base of the plant; keep the attached pole steady. Do not lift the whole assembly by a leaf stalk. For a flexible plastic pot, gently squeezing its sides can help release the root mass, as Iowa State describes. If it will not release, pause rather than pull harder.
- Inspect before committing to the new pot. Check the sides and bottom for crowding and examine root texture. Gently tease loose accessible circling roots with your fingers, following Penn State’s method. Preserve healthy roots; there is no routine requirement here to shave away part of the root ball or strip it bare. If you find mushy roots or soft stem tissue, stop this healthy-transfer sequence.
- Set the height before filling the sides. Add enough mix below the root ball to keep the plant at its previous planting depth. The old mix surface and new surrounding mix should meet at the same level. Leave about 1 inch below the rim for watering, as Ask Extension’s Monstera instructions advise. If the plant sits too low, lift it and adjust the base layer rather than burying more stem.
- Fill around the root ball. Hold the plant and pole steady, add fresh mix around the sides, and settle it gently with your fingers. Penn State cautions against compacting the mix. Check that the pole remains secure and the original soil line is still visible before watering.
- Water and let the excess leave. Water the healthy repotted plant until water exits the drainage holes, then allow it to drain fully. Empty the saucer or outer cover. Ask Extension recommends this thorough first watering; a small token splash may not wet the new mix evenly. Recheck the planting level after settling without covering the stem to fill a dip.

What should you check after repotting?
Check drainage, moisture, stability, and whether damage is increasing. Drooping by itself does not tell you whether the plant needs water or has damaged roots. Do not automatically water again or wait out a fixed recovery period. Use the pot and plant’s actual condition to decide the next action.
| Check | Useful next action |
|---|---|
| Water has collected in the outer pot | Empty it and confirm that the growing pot can drain freely. |
| The mix is still moist when you consider watering | Wait and check again. Do not carry the old watering interval into the new container. |
| The root-ball surface has sunk below the surrounding mix | Check the planting level and stability; do not solve the dip by burying the stem. |
| Wilting worsens, or the stem becomes soft at soil level | Check moisture and drainage, then investigate the roots and stem. Seek Extension help if the cause is unclear instead of assuming ordinary transplant stress. |
| The plant is stable and later resumes growth | Continue observing moisture. New growth is useful progress, not a deadline every plant must meet. |
UConn describes wilting and soft tissue in root and stem rot; those signs deserve investigation rather than a promise that every wilted plant will recover. Penn State advises letting the upper mix dry between waterings. Check below the surface as well as whether water can leave the pot.
Return a healthy plant to its familiar suitable location, as Ask Extension advises, rather than simultaneously changing its light. Do not add fertilizer as a recovery treatment. Iowa State notes that fresh mix commonly contains fertilizer, and both it and the Monstera Ask Extension answer advise delaying additional feeding. Check the mix label and active growth before planning more fertilizer.
For the broader light, watering, and support routine, return to the Monstera deliciosa care guide.
Monstera repotting FAQ
Do I need to repot my Monstera every year?
No. Check the roots and medium rather than repotting annually. A crowded root ball may justify more space; compacted medium may need replacement without a size increase. Iowa State notes that frequent repotting is not always necessary. Aerial roots alone are not a reason to buy a larger container.
Can I move my Monstera into a much bigger pot?
Use a modest increase instead of a large jump. UConn recommends incremental increases for Monstera. Compare the actual root ball, width, depth, and drainage. The 1–2-inch starting range discussed above applies general Extension advice conservatively; it is not a universal species-specific formula or extra clearance on each side.
Should I remove all the old soil and cut the roots?
No, not for a routine healthy transfer. Gently loosen accessible circling roots while preserving sound tissue, following Penn State’s approach. Do not routinely shave off a fraction of the root ball. Mushy roots or soft stem tissue call for assessment; root color alone does not establish disease.
Should I water immediately after repotting?
Yes, after a healthy routine repot. Ask Extension recommends watering until excess drains out, then letting the pot drain fully. Empty the saucer or decorative outer pot. Before the next watering, reassess moisture in the new setup instead of using the old schedule. Suspected root disease falls outside this routine.
Why is my Monstera drooping after the move?
Drooping alone cannot identify the cause. Check moisture, free drainage, support, and whether the stem or roots have soft tissue. UConn lists wilt among root and stem rot signs, so worsening collapse should not be dismissed as harmless shock. Seek help when the cause is unclear; there is no promised recovery deadline.
Sources and scope
- Penn State Extension: Repotting Houseplants — root inspection, container preparation, pre-moistened mix, planting level, and thorough watering.
- Ask Extension: Repotting a monsters plant — handling a supported Monstera, preserving planting level, watering headroom, and drainage.
- University of Connecticut: Monstera deliciosa — incremental pot sizing and root and stem disease signs.
- Ask Extension: general houseplant repotting answer and National Garden Bureau: Year of the Monstera fact sheet — differing pot-size increments, explained above.
- Iowa State University Extension: How to Care for Houseplants — repotting decisions, timing, media breakdown, containers, and fertilizer already in fresh mix.
- Penn State Extension: Monstera as a Houseplant — aerial-root support, handling precautions, and routine care context.


